You always wanted that perfect manicure that will last for weeks and will make you feel pretty and confident. The closest thing for this dream to come true is getting a gel nail manicure. They can last in tip top shape up to 3 weeks and you can experiment with your creative side with the infinite choice of gel nail designs that you can apply on your nails. Mind you, if you want the gel mani to last for that long, you should avoid soaking your nails and handling abrasive substances bare-handed.
There is always the issue of costs. Although a treat, going to a salon for a gel nail mani can be quite pricey, not to mention time consuming. The cheaper and timelier alternative is to buy yourself a gel nail kit and do it in the comfort of your home. Explore your creative side and save a bit of money by opting to do your gel nails at home. Here are some tips and tricks about how to get your perfect gel nail mani at home.
Table of Contents
What you need for your DIY gel nail manicure
Your first step is to stock up on the necessary supplies. We recommend the amazing gel nail from Rossi Nails that can be purchased either individually or as a kit. What you need to buy, besides the gel nail polish, obviously, are the following items: nail buffer, base coat, top coat, gel nail polish, a gel nail light (a UV or LED lamp), and cuticle oil. To this basic package, you can add as many gel nail colors and gel nail stickers as you fancy. This is your opportunity to unleash your creativity and give your nails the ultimate makeover.
How to give yourself a gel nail manicure
Giving yourself a gel nail manicure is not difficult. However, it requires a steady hand and some precision. If your first attempts at painting your nails turn out to be a bit shaky, don’t despair. After a few attempts you will get the knack of it and manage not only to paint inside your nails but even to create unique patterns and apply stickers to embellish them. So here are the steps you need to take:
- Prep your nails
First, you need to prepare your nails. Cut them to the length that you desire, then file them thoroughly. Push back your cuticules then buff your nails so that they are ready for all the nail polish layers that will be topped on them. Don’t forget to clean all the nail dust resulted from the buffing process.
- Apply the base coat
After you apply the base coat, don’t forget to cure your nails for 50 seconds under the UV or LED lamp.
- Apply the gel nail polish
Here you can make the most of your creativity and taste. Choose the gel nail colors that take your fancy. Apply as many coats as are necessary to obtain a dense color. Cure your nails after the application of each coat.
- Apply the top coat
In the next step, you apply the top coat and cure it for 50 seconds.
- Apply cuticle oil
In the last step, make sure to hydrate your nails properly so that the beautiful mani that you just gave yourself will last and the skin on your hands will not crease. To this end, apply cuticle oil on your nails and some hydrating cream on your hands.
After approximately 3 weeks your gel nail mani will start looking worse for wear, which means that it’s time to remove it. Don’t let yourself be tempted to peel it off. This will only damage your nails. Remove it the proper way, by soaking your nails in acetone.
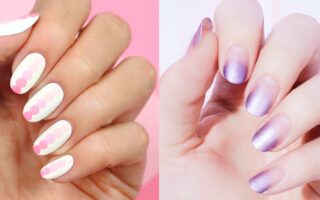
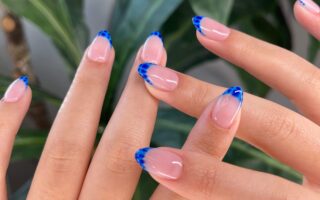
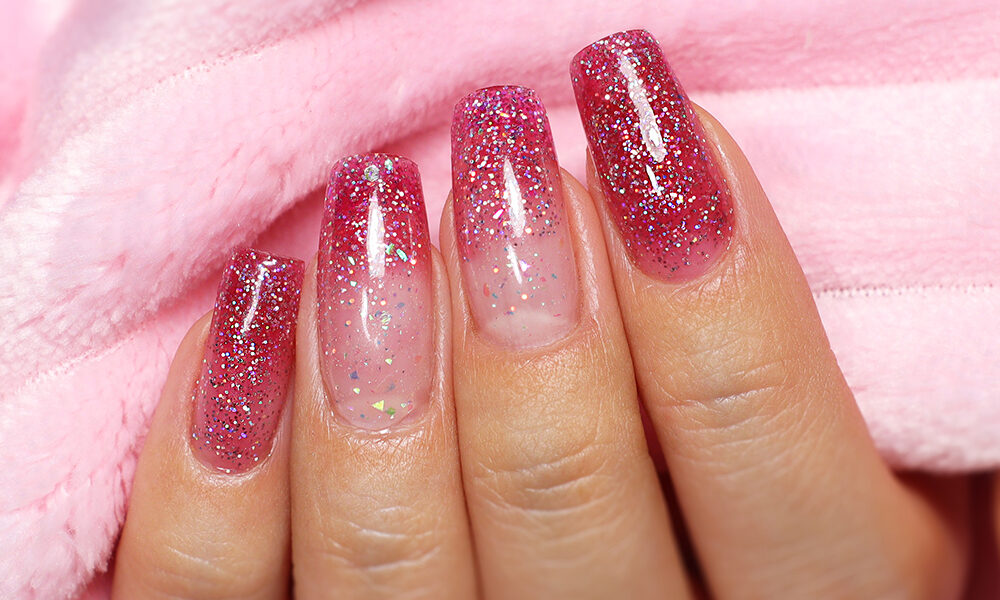
Indulge in gel nail art
This is your chance to show everyone how creative you are. Your nails are the prefect display window for your design ideas. Match your nails to your outfit or to your mood or choose to let your imagination run wild and get an unexpected design. The easiest form of nail art that even a newbie can try is the application of gel nail stickers and gel nail extensions. Nail gel is the perfect medium to use nail stickers.
To apply nail stickers on gel nails you have to follow the same steps as above with some adjustments. After you prepared your nails and applied the gel nail polish, cure and apply the stickers. They need to be prepared beforehand by soaking them in water so that they will attach to the nail. After you dry them on a paper towel, stick them on the nails. Wait for them to dry, apply the top coat and cure. Apply another top coat and cure again. It’s extremly easy, like getting a temporary tattoo for your nails.
Gel nail extensions are also fairly easy to apply. You follow the steps described above and apply the extensions after the base coat was cured under the UV light. You will apply the gel nail polish on the entire surface of the nails, including the extensions and cure them again under the UV light. Seal the nails by applying the top coat and curing them.
To conclude
DYI gel nail manicures are not difficult although the equipment required could be a bit daunting. However, most nail polish brands sell gel nail kits that include all the items required for a complete mani. All you need is a bit of practice and a stady hand and you will be able to get a mani hassle free whenever you fell like changing your look. Plus, the medium of the gel nail polish is uniquely versatile. You can manifest your creativity and personality in the nail art you choose, and your nails will reflect your personality. So, get creative and and get a new look with a DIY gel nail manicure!